ANZAC crispies – that’s what my mum always calls them so that’s what I call them. That’s because they should be crisp (but not burnt). We ate these a lot when we were kids as they’re super easy and only contain only one non-pantry ingredient – butter.
The story goes that these bikkies were often sent as part of care packages to the men of the Australian and New Zealand Army Corps during World War I. The recipe came to be because something high energy, solid and transportable was needed, and the ingredients in the biscuit were basic and plentiful at the time. Eggs were scarce, so a recipe without eggs yet was developed. The recipe itself is only allowed to bear the Anzac name if it adheres to the original, as the Department Of Veteran’s Affairs owns the term ‘Anzac’.
A quick tip: These bikkies are made to spread while baking but sometimes, inexplicably, they don’t. I usually put this down to stale bi-carb soda, so be sure to keep yours in an airtight container.
Anzac Crispies
1 cup rolled oats
1 cup brown sugar
1 cup desiccated coconut
1 cup plain flour
125g butter
2 Tablespoons golden syrup
1 ½ Tablespoons teaspoons bi-carb soda
2 Tablespoons boiling water
Preheat the oven to 160°c (140°c fan forced). Line two biscuit trays with baking paper.
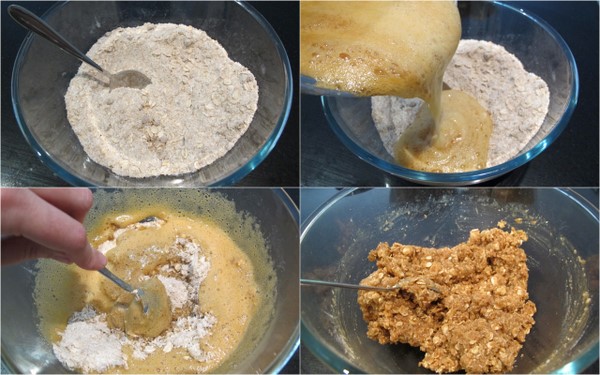
Mix the rolled oats, sugar, coconut and flour in a large bowl. In a small pan, melt the butter and golden syrup together. Boil the jug.
When the butter and golden syrup are melted to liquid, take the pan off the heat. In a small bowl, place the bi-carb soda, followed by the boiling water. Once the bi-carb is dissolved, add it to the butter mixture. The whole mix will foam up, pour is immediately into the dry ingredients and stir through.
Form heaped soup spoons of mixture and place them on the trays. Leave plenty of room for the biscuits to spread, I only fit about 5 per tray.
Cook the biscuits for 16 minutes, swapping the trays after 8 minutes. They should be golden brown and very flat. If not, they may need a little longer.
Leave the ANZAC crispies to cool on the tray until mostly cool and then transfer to a cooling rack to cool completely. Serve with a cup of sweet tea or a glass of milk.
Makes about 18 biscuits.
Did you eat a lot of homemade treats when you were a kid?
Biscotti is one of those treats that I can’t get enough of but I always forget how time consuming it is. I’ll walk past a packet of biscotti in a supermarket or a deli and think to myself ‘Six dollars a packet? That’s ridiculous!’ I’m frugal by nature but also quite lazy, so every few years I’ll bake up a batch. And that’s when I remember what a pain in the arse baking can be.
The word biscotti comes from the latin for ‘twice baked’ and this is the time consuming part. After mixing up a dough, forming it into two logs and baking them for nearly an hour, the logs are thinly sliced and then each slice needs to be dried out in the oven.
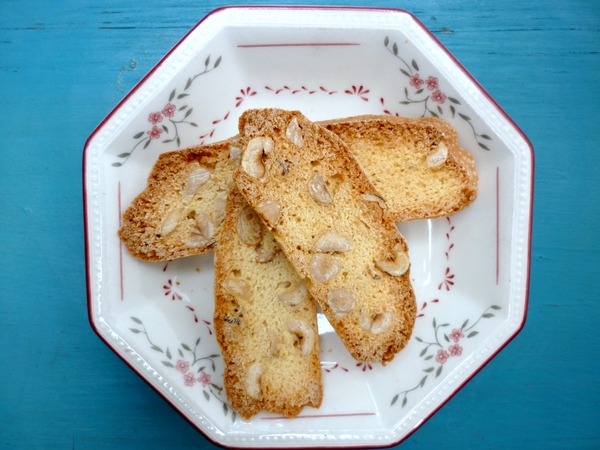
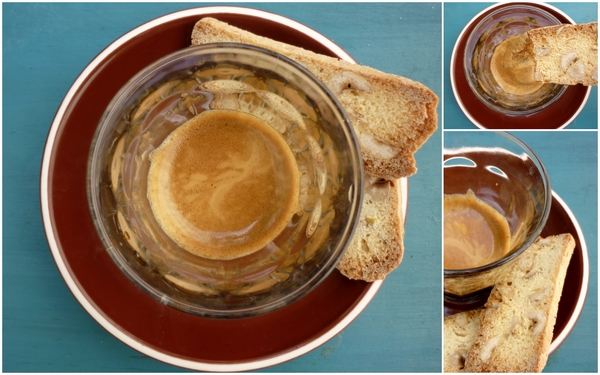
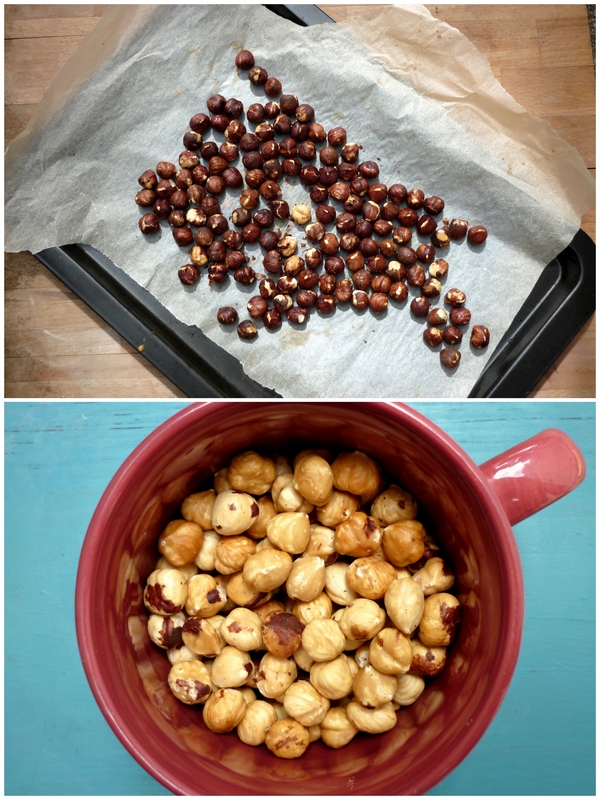 Biscotti are slender brittle fingers of biscuit with chunks of nuts in them, perfect to dunk in coffee. They are crunchy and addictive with a slight egg taste as the dough is made with eggs, flour and sugar (no milk or butter). Although time consuming, this recipe makes a large batch. If you slice them finely, you will get around one hundred biscotti.
This recipe has been in my recipe folder for ages, so I assume that like most of my baking recipes from my teenage years its from an Australian Women’s Weekly cookbook. Unfortunately I can’t remember the specific cookbook. The original recipe had a cup of hazelnuts, my additions were chocolate and lemon zest, making half the biscotti hazelnut chocolate and the other half hazelnut and lemon. I also roasted the hazelnuts to intensify the flavour and make the skins easier to remove, making them less bitter.
Hazelnut Biscotti two ways (adapted from AWW)
3 eggs
1 cup caster sugar
1 tsp vanilla extract
2½ cups plain flour
½ cup self raising flour
1½ cups hazelnuts (that’s about how much was in the packet I bought)
½ cup chocolate slivers (I chopped some 50% cocoa lindt as its nice and thin and not too dark)
The zest of half a lemon
In a hot oven roast the hazelnuts for about 15 minutes or until fragrant and brown. Leave to cool for half an hour. As the nuts cool they will shrink slightly and their skins will become loose. When cool, rub the skins off with a tea towel.
Turn the oven down to 160°c. Whisk sugar, eggs and vanilla essence together in a large bowl. Stir in flours to a sticky dough.
Divide the dough and put half in another bowl. Add 1 cup of roasted hazelnuts and the lemon zest to one bowl and ½ cup roasted hazelnuts and half a cup of chocolate shards in the other bowl. Mix in the chunks and form the dough into two logs, one of each flavour. Place on a paper-lined baking tray and bake for 45 minutes.
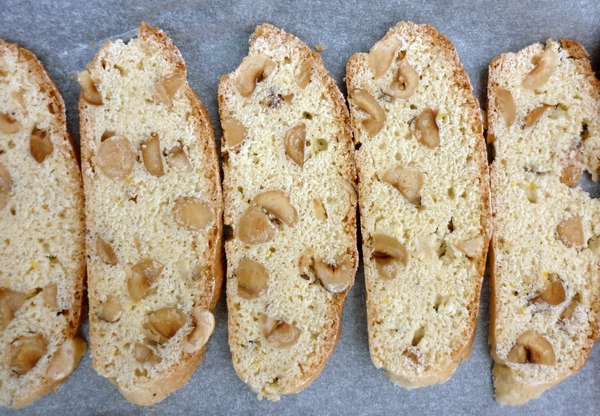
Allow to cool until just warm, slice thinly into 90-100 pieces. Spread the slices on baking trays and bake for 5-10 minutes each until dried out. Cool and serve.
I have a friend, let’s call her Ms. G, who is in the habit of whipping up amazing and intricate dishes on a regular basis. I’m always excited to be invited round for dinner and luckily, she doesn’t live far and invitations are frequent. Ms. G is adept at homemade ice cream, paella, bread made from scratch, risottos…the list goes on. I’m amazed at her patience at skill and it’s serendipitous that she’s an expert in all those dishes I would never dare attempt.
In my own kitchen, my absolute favourite recipes are those that involve minimal effort but yield maximum results. This probably has as much to do with my lack of patience as it does pragmatism, but nothing gives me more pleasure than recipes that are zero fuss and yet somehow, absolutely stunning. It never continues to amaze me how many recipes pack a massive flavour punch with very few ingredients, very little effort and very little time.
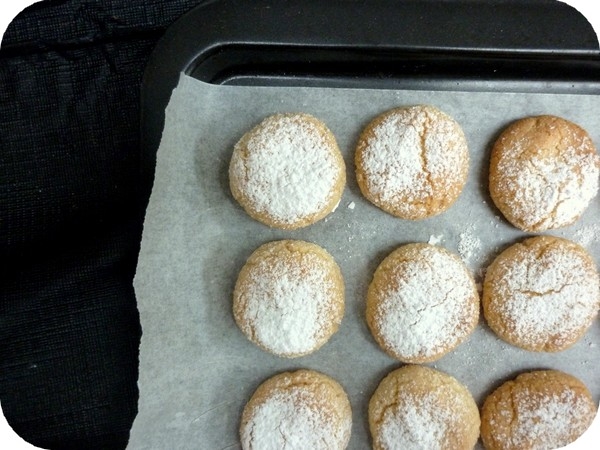
Amaretti was one such happy surprise for me. I had always marvelled at their crisp outer shell and chewy centre, perfect with a ristretto or dunked in a cappuccino. Surely, I thought, they must be fiddly and time consuming to taste this good, something like macarons. And yet these little Italian biscuits were as forgettable as they were delicious; in fact it wasn’t until about a year ago that I looked online for a recipe. I ended up selling some to a cafe for a while but due to their understated appearance, that didn’t last long.
This is one of the easiest and fastest biscuit recipes you will ever make in your life- all you do is whisk a few ingredients together with a fork, roll the mix into balls and bake. Enjoy!
Stellar Amaretti
200g almond meal
¾ cup caster sugar
2 egg whites
¼ teaspoon almond essence
Icing sugar, for dusting
Preheat oven to 175◦c. Line two biscuit trays with baking paper.
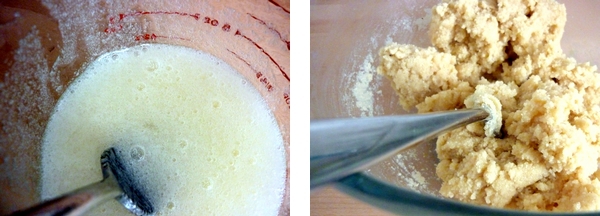
Beat sugar, almond essence and egg whites together with a fork until smooth. Stir in almond meal with fork.
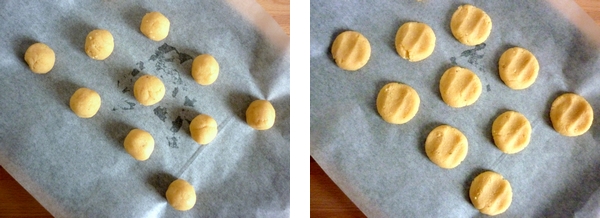
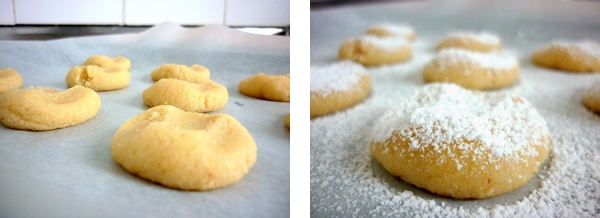
With dampish hands, roll small amounts of the mixture into balls of 2-3 cm in diameter and place on trays. I usually fit about 11 per tray. Flatten them with your fingers and dust liberally with icing sugar.
Bake for around 12 minutes. They should not be brown, just starting to get a touch of colour on them. Cool for one hour before serving and/or storing in an airtight container.
Makes 25 amaretti, which will keep for up to 2 months. Makes a great Christmas gift!
So, readers, do you have a favourite no-fuss treat?
About me
 Sharing easy recipes, hunting down the best coffee. Honest accounts, nothing too serious. Read more...
Recent Posts
- Aerpress means no more shit #travelcoffee and #workcoffee
- Why I write and four ace bloggers who do it better
- The five best things I ate in London
- Shoreditch is awesome, airports are not
- I quit sugar? Do I bollocks.
- Cubao Street Food, Alexandria
- The Reformatory Caffeine Lab, Surry Hills
- Brewtown Newtown
- Stay caffeinated over Christmas
- Gumption by Coffee Alchemy, Sydney CBD
Popular posts this month…
 Review – Philips Saeco Intelia posted on January 10, 2012
  Sparkling Long Black posted on May 10, 2011
 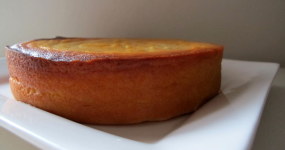 Kosher Whole Orange Cake posted on July 5, 2011
  Fairy Bread posted on March 11, 2011
  Vella Nero Coffee Couture, Sydney CBD posted on June 28, 2011
 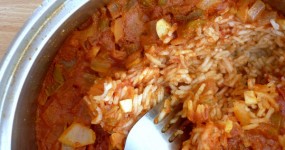 The quest for Mex part 1 – Mexican Red Rice posted on December 17, 2010
  The quest for Mex part 2 – Feisty Chicken Burritos posted on December 21, 2010
  Gumption by Coffee Alchemy, Sydney CBD posted on December 13, 2013
Disclaimer:
All opinions in this blog are mine, an everyday, real-life person. I do not accept payment for reviews and nor do I write sponsored posts. I do not endorse the content of the comments herein.


