In Argentina I met an English girl who said that Australia was the first place she ever tried Greek Yogurt. What’s more, she hadn’t had it since. She said she couldn’t wait to get back here to eat Greek yogurt every day! Frankly, I don’t blame her. It’s rich, creamy and tart with the thick lusciousness of sour cream- there’s nothing like it.
The availability of Greek food in Australia is not at all surprising when you consider the number of immigrants and their descendants living in here – Melbourne, for example, is the city with the second largest Greek population in the world. There is a large Greek population in Sydney as well, and a myriad of restaurants and ingredients available very easily if you’re interested in cooking Greek food. This is one of the major benefits of living in this country- diversity of food. You’re hard pressed to find a town where you can’t find a veggie burger or a machiatto or, in my friend’s case, Greek yogurt. This is something that we now take for granted and in many cases, never give a second thought.
It is also one of the major ways people understand multiculturalism. Food is a valuable way for different communities to promote their cultures, as everybody eats and it is considered a starting point for greater familiarity with a culture to experience their food. Of course, it is also only the tip of the iceburg- 20 kinds of cuisine in one place does not a multicultural society make. That’s what we call a food court. I love this recipe for it’s simplicity and the burst of flavour provided by the dill. It is best eaten fresh from the oven, crispy and golden but also makes a brilliant cold lunch if you have any leftovers.
Never fail Spanikopita by Dimitra Alfred, via the SBS Food Safari website
2 bunches English spinach (300g or so)
4 sprigs fresh dill, chopped
4 spring onions, chopped
300g feta cheese
100g ricotta cheese
50g (½ cup) finely grated hard cheese like kefalograviera (I used Pecorino)
5 eggs
2 tbsp dry breadcrumbs (I used matzo meal as I had no bread crumbs on hand)
¼ tsp ground nutmeg
½ tsp freshly ground black pepper
60ml olive oil (4 Tablespoons)
375g packet fresh fillo pastry
Around ¾ cup melted butter
Sesame or nigella seeds, for sprinkling over the top.
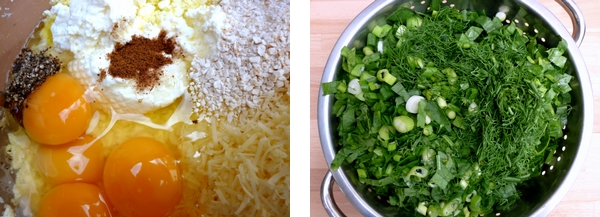
Chop the spinach, dill and spring onions very finely. Rinse in a large colander and leave to drain.
Place the feta in a large bowl and mash coarsely (I use a fork). Add the ricotta, hard cheese, eggs, breadcrumbs, nutmeg, pepper and oil. Mix with the fork to combine. Add the spinach.
Preheat oven to 180C. Lightly grease a 20cm x 30cm x 5cm deep baking dish or, as I did, two pyrex 6-cup rectangular dishes. Lay the fillo out on a bench. Cover with a damp tea towel to keep it from drying out.
Line dish with a sheet of filo and butter the filo with a pastry brush. Continue layering until about half the sheets of fillo are used (6 to 8). I cut the filo in half with scissors as I was using two dishes.
Using your hands, gently mix the spinach filling into the cheeses until thoroughly combined. Pour into the prepared pastry base and spread evenly.
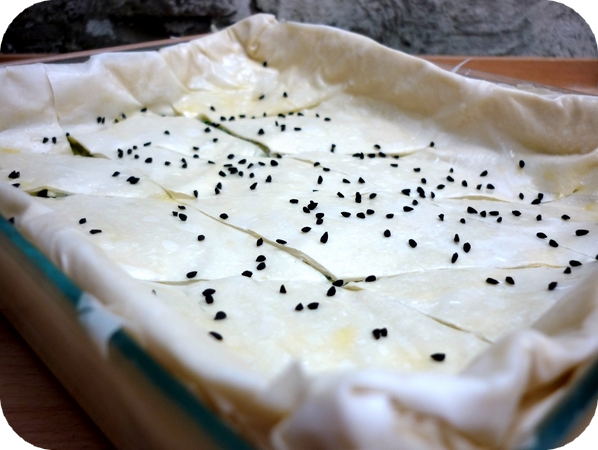
Top with remaining filo, buttering each sheet, ensuring the final sheet is well buttered. Trim any overhanging pastry and tuck in.
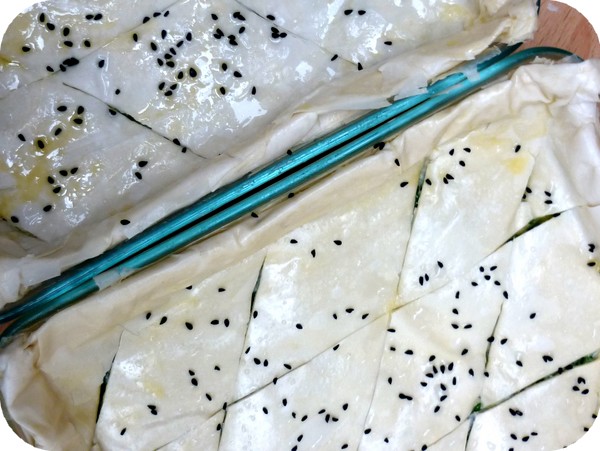
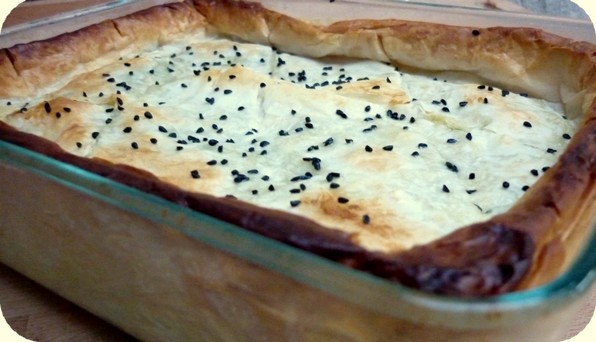
Use a sharp knife to mark pastry top into diamonds, allowing the knife to pierce the pastry once or twice to allow air to escape during baking. Sprinkle lightly with water, sesame seeds and a few nigella seeds and bake in preheated oven for 45 minutes to 1 hour or until well browned and set.
Gently shake the pan and the spanakopita will slide easily when cooked. Cool on rack for 15 minutes before cutting to serve.
Are there any delicious treats you miss from your overseas adventures?
One of my favourite things to eat in Spain at the dingy tapas bars we frequented was the kind of aioli that tastes like plastic-y American mayo with some garlic thrown in for good measure. I could drink the stuff, in fact, I’m pretty sure I bought some in a Portuguese supermarket post-Spain and inhaled the whole tub. So any time I had a go at making aioli, I’d just mix mass-produced mayo and garlic. And now that aioli is trendy here, that’s usually what’s served in pubs all around Australia.
I have always shied away from scientific-sounding processes like ‘emulsification’ in cooking so you’ll forgive me if I only got around to making ‘proper’ aioli from scratch about a month ago. I figured it wouldn’t be worth the effort but boy, was I wrong. And what’s more, it goes with pretty much anything savoury – fish, chicken, polenta-crusted potatoes, the list goes on.
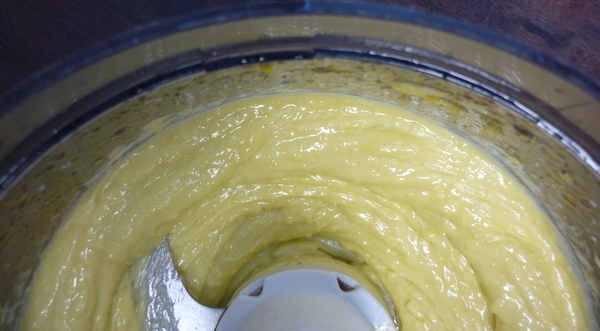
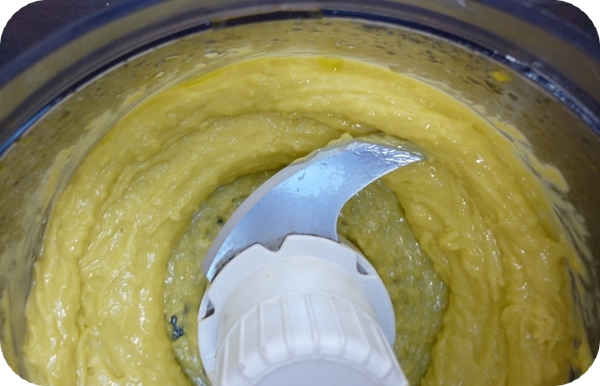
To make an aioli you basically do what you would do for a mayonnaise, only using extra virgin olive oil. You blend or mix egg yolks with garlic or herbs until creamy and then, while still mixing, add a large amount of olive oil drop by drop, finishing with a touch of acid like lemon or vinegar. The result is a thick creamy emulsion that will have you licking your fingers with glee, I promise you.
This is a recipe that lends itself to immersion blenders and food processors because the aioli must be constantly in motion or it won’t emulsify. Other than that, it is damn near impossible to stuff it up. You could make it too thick but I’m pretty sure no one would complain if you did and anyway you could just add more lemon, vinegar or water.
Classic Aioli
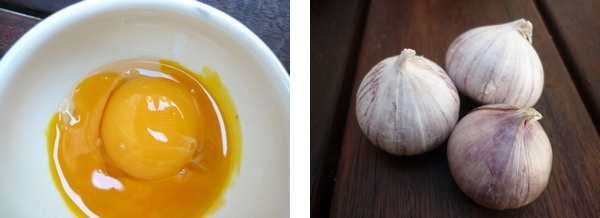
4 cloves garlic, chopped
2 egg yolks
2/3 cup extra virgin olive oil
½ teaspoon salt
1 Tablespoon of Lemon juice (more if desired)
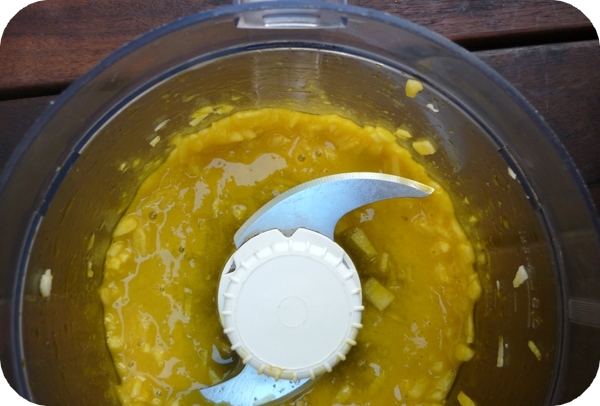
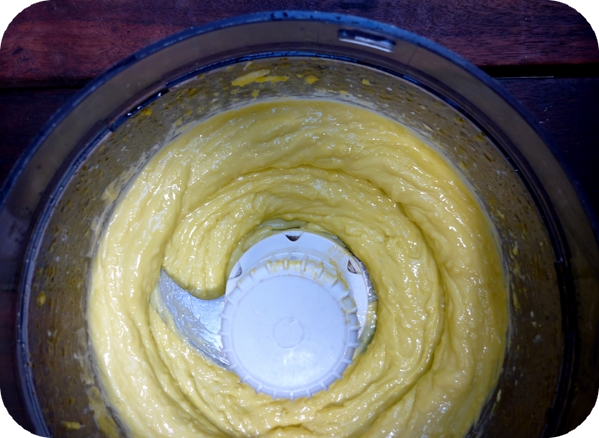
Turn food processor on to medium. Add garlic and egg yolks and puree until garlic is extremely fine and egg yolks are very creamy.
Add salt and once dissolved, pour the oil, drop by drop or in a very slow stream into the still running food processor. You may want to use a measuring jug to pour from. It should take a full 5 minutes to add the 2/3 cup oil to the egg and garlic blend.
Add the lemon and blend some more. Transfer to a bowl, chill and serve.
It’s no secret that we Sydneysiders have a diverse culinary world at our feet. From ingredients to restaurants, we can find almost any kind of food, from Korean to Thai to Japanese to Malaysian to Italian, Vietnamese, Hungarian, Brazilian, Portuguese, Israeli, Lebanese…the list goes on, although I have had some trouble finding Ethiopian. And thus, you might conclude, especially if you were American and absolutely if you were Texan, surely there must be some good Mexican food somewhere.
However, it seems there’s only room for so many restaurants and, much like tapas, Mexican food is considered prestige enough to be on the pricey side here in Aus. Add to this the assertion my Texan friend Ms. Phonetic makes that Aussie Mexican grills aren’t really worth bothering with (plus the argument she had with the owner of one of them when he wouldn’t let her have cheese on her taco, even if she paid extra, because it wasn’t ‘authentic’) and you really might as well have a crack at making them yourself.
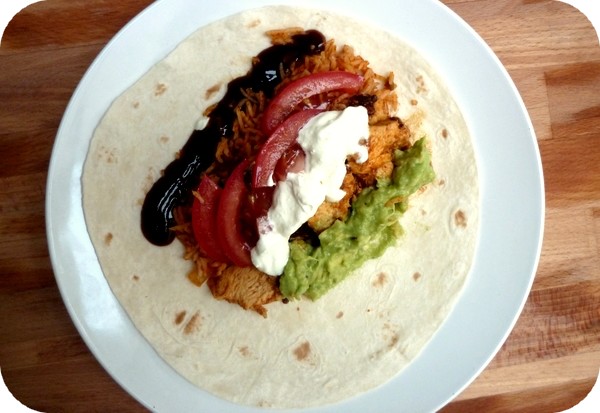
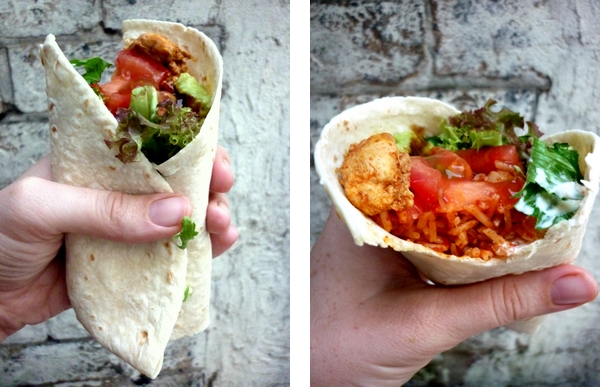
I quite like Mad Mex, Guzman y Gomez et al, especially their chicken burritos. This recipe is my own take on them. I love the smokiness of the chipotle marinade and the way it pairs so perfectly with the fluffy Mexican rice. Wrap it a warm tortilla with a dollop of guacamole and you’re in heaven.
Lau’s Feisty Chicken Burritos
Serves 4 (2 small burritos per person)
You will need:
For the chicken:
700g chicken breast
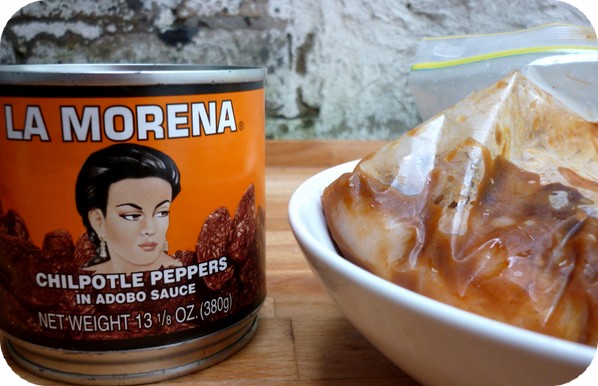
2-3 Chipotles in adobo (finely chopped)
Paprika
Salt
Olive oil
1 portion of Mexican Rice (see previous post)
For the Guacamole:
2 Ripe Avocados
1 lemon or lime
Salt
Freshly ground black pepper
To finish:
Chopped lettuce and tomato
1 packet of flour tortillas- I prefer Mission Tortillas, they come in a 12 pack and you can just freeze the leftovers (if there are any).
Sour cream (if desired)
Mexican Hot Sauce (I use El Yucateco Green)
Smokey BBQ sauce (I use Fountain, they even have a facebook fan page!)
Marinate the chicken in the chipotles and some of their sauce, paprika, a pinch of salt and a splash of olive oil overnight, or at least 2 hours.
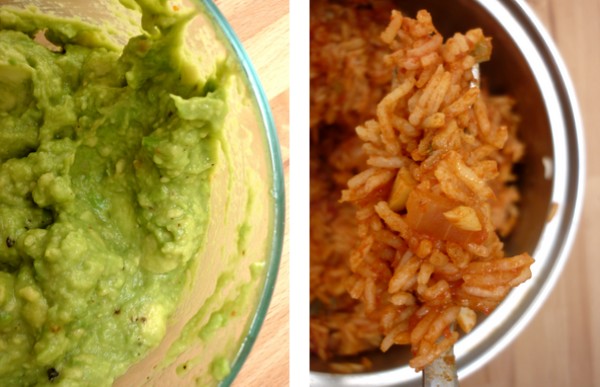
Next prepare the rice and while it is cooking (it takes about 20 minutes), make the Guacamole and chop the lettuce and tomato. To make the guacamole, Mash 2 ripe avocados with lemon or lime juice, freshly cracked pepper and salt to taste.
Heat a frypan with a little olive oil until hot. Cook the chicken and marinade on both sides. It’s ok if it gets a little charred as long as it’s cooked quickly and all the way through. When it’s done, slice it into strips. This means you don’t have to chop up raw chicken and it’s actually much moister cooked this way.
To assemble, microwave each tortilla for 10 seconds. Place some chicken, rice, guac, salad, sauce and sour cream on each tortilla and wrap. Enjoy!
So, readers, where do you get your fave Mexican food?
My friend Ms. Phonetic, a Texan girl born and bred, often laments the lack of good Mexican, never mind Tex-mex, available here in Sydney. When we were sharing a house back in the day, I remember her half-baked plans for tortilla stands, burrito buses and importing Mexican beer. More recently, I witnessed her untamed joy as we walked through Fiji Market on King Street, Newtown and came a across tins of Chipotles in adobo, Mexican hot chocolate, hominy and a plethora of Mexican sauces.
In recent years Australia has seen a lot of Mexican grill franchises popping up (Guzman y Gomez, Mad Mex and the like). Generally, these places will use large flour tortillas to wrap a burrito filled with your choice of grilled meat, rice, refried or black beans and various salsas, sauces, sour cream and always ALWAYS charge extra for guacamole. Ms. Phonetic maintains that they’re twice the price and nothing like the real thing. Debates about authenticity aside, I’ll have to take her word for it. I guess nothing beats a freshly made tortilla or a fresh batch of Mexican rice or real queso dip.
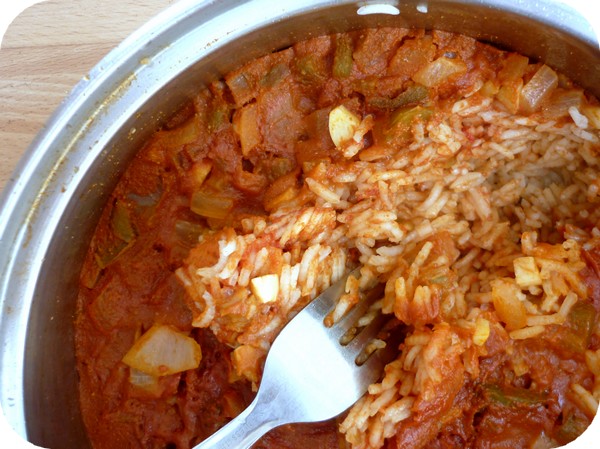
So, having only my experiences eating at lost-in-translation burrito franchises to go on, I worked to duplicate something of what I had tasted. I scoured the internet for ‘Mexican Rice’ recipes. This recipe is really easy and delicious, all I’ve done is added more spices and extra garlic. My favourite way of serving this is as part of a burrito, which I’ll outline in my next post, but it’s also an amazing side dish. I’ve yet to mix up a batch for Ms. Phonetic but when I do, I’ll let you know how it goes.
Mexican Rice (adapted from The Frugal Chef)
serves 4 as a side dish.
1-2 Tablespoons Olive Oil (I used Extra Virgin because that’s all I buy)
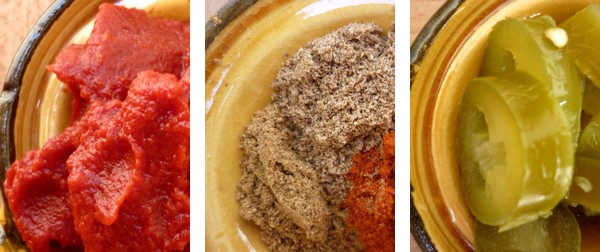
1 Tablespoon pickled jalapeños, finely chopped
2-4 cloves garlic, finely chopped
1/2 a small onion, finely chopped
1 cup Basmati or other long grain rice
1 teaspoon ground cumin
1 teaspoon ground coriander
1 teaspoon ground paprika
1-2 Tablespoons tomato paste
1 cup liquid stock
1/2 cup water
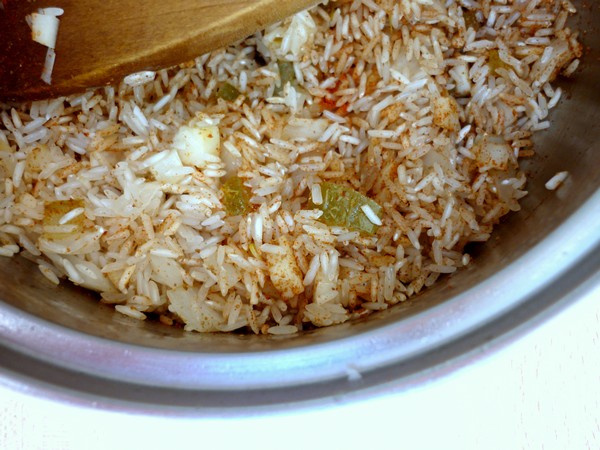
Heat the oil in a small pan to medium high. Sauté the jalapeños, garlic, and onion for a couple of minutes. Add rice and spices and toast a couple more minutes.
When the rice begins to ‘pop’, quickly stir through the tomato paste. Add the stock and water and stir through.
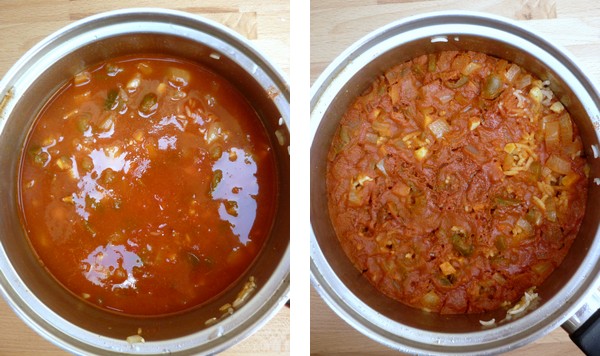
Put the lid on and turn the heat as low as it goes. Simmer 15 to 20 minutes. Burning the bottom of the rice a little is encouraged. I generally turn off the heat after 15 minutes and just let the rice sit for 5 to 10 minutes. Serve with black beans or chicken or in a burrito.
I know it looks ugly, but trust me. It’s delicious.
There are these very rare moments where you stumble across something you never expected, a hidden gem. Even better are those times when someone lets you in on their little secret…
On a recent visit to Canberra, my Mum took me to the Aru Padai Murugan Temple, a Hindu temple in Torrens. To raise money for the construction of the temple they open a canteen every Saturday selling Sri Lankan food, much like the Sri Venkateswara Temple in Helensburgh does.
The food was crazy delicious, not to mention crazy cheap. The dish that really stood out for me was spinach with coconut. This is a tad strange because I’m not normally much of a coconut person, for example, I don’t really like lamingtons all that much. But this vivid green, plain salty dish won my heart and made me realise I actually love coconut in it savoury incarnations. So I did what all of us do in this situation and googled the hell out of Sri Lankan spinach recipes until I found on that fit the bill.
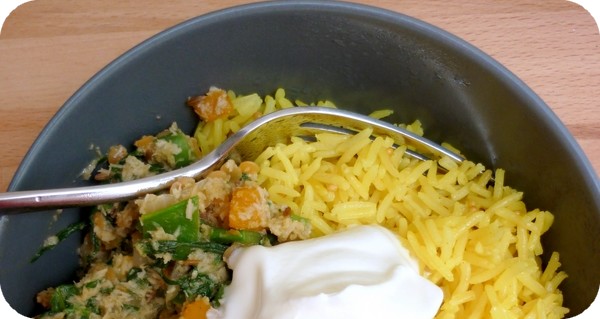
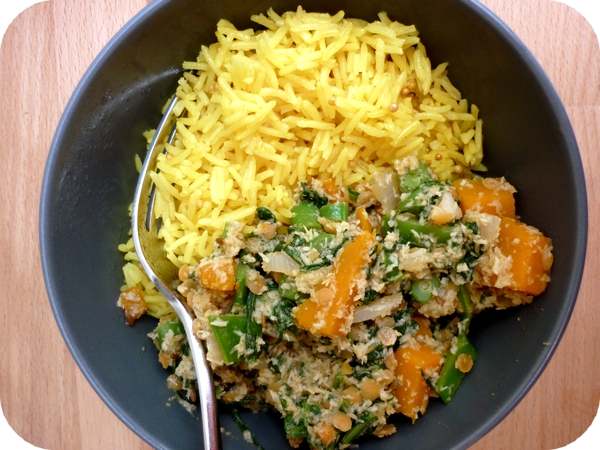
The great thing about this recipe, besides it being quick, easy, vegetarian and high in iron is that (if you have spinach in the freezer) you may have all the ingredients on hand, which makes it great for when you don’t feel like shopping. I served it with basmati rice cooked by the absorption method (directions below) and a big dollop of greek yogurt.
Spinach with Coconut
(makes 2 generous servings)
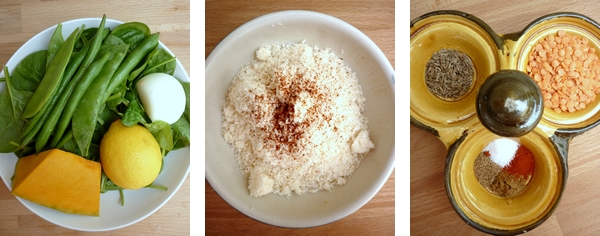
Canola oil
½ an onion, finely chopped
80g potato or pumpkin, cubed (optional)
½ teaspoon cumin seeds
¼ teaspoon ground cumin
¼ teaspoon ground coriander
¼ teaspoon ground paprika
1 Tablespoon of red lentils
150g spinach, fresh or frozen, finely chopped
A handful of beans or snowpeas, finely chopped (optional)
Salt
Up to 1 cup stock or water
½ cup dessicated coconut
A smidgen of ground cayenne pepper
Parboil the potatos/pumpkin and lentils for 5 minutes, drain and set aside.
Heat oil and cook onion, cumin seeds, lentils and potato or pumpkin (if using) for 5 minutes with a pinch of salt to prevent browning.
Add some liquid and cook for another 5 minutes or until everything is soft.
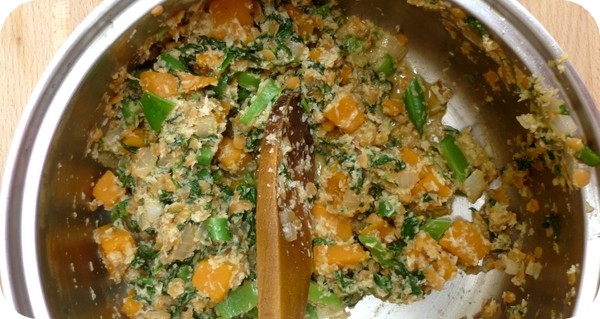
Add all remaining ingredients and cook until spinach is soft. Serve with yellow rice.
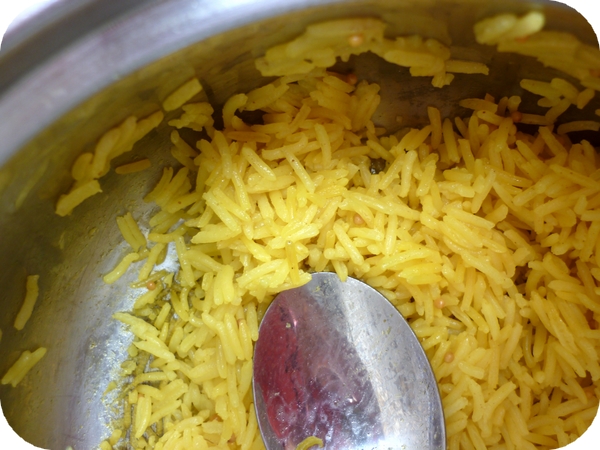
‘Yellow Rice’
½ cup basmati rice
¼ teaspoon mustard seeds (optional)
Canola oil
Salt
Turmeric, for colour
1½ cups water
Heat oil in the pan on high heat and add rice and mustard seeds. Toast until seeds start to ‘pop’.
Add all other ingredients and immediately turn heat down as low as possible. Once rice is simmering just a tiny bit, put lid on and cook for 15 minutes. Leave pan on the stove with the heat turned off for another 5 minutes.
Do you have any food discoveries to share?
Recently, my friends and I had a discussion about carbohydrates. We tried to decide if we were stranded on a desert island and were only allowed one type of carb, which it would be. And I’ve gotta say that although it’s a toss-up between pasta and potatoes for me, potatoes won out. Their just so versatile and impossible to duplicate. In fact, I might go so far as to make them my desert island food. They’re what I’d eat if I were allowed only one kind of food for the rest of my life.
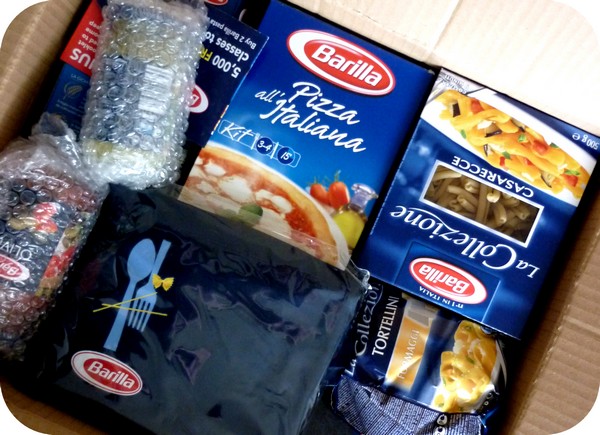
I won and amazing barilla prize pack from Not Quite Nigella recently. It included pastas, sauces a pizza kit and a packet of instant polenta. Awesome. The thing is, I wasn’t quite sure what to do with the instant polenta. I’ve had a bag of the non-instant stuff in my pantry for about 2 years and only recently broke it out to make the polenta with bolognese recipe from ‘Poh’s Kitchen’. I’m ashamed to say that’s the only time I’ve ever really had a go at it as I was under the impression I’d have to stir for an hour, but in reality polenta is a stir-every-so-often-type-deal.
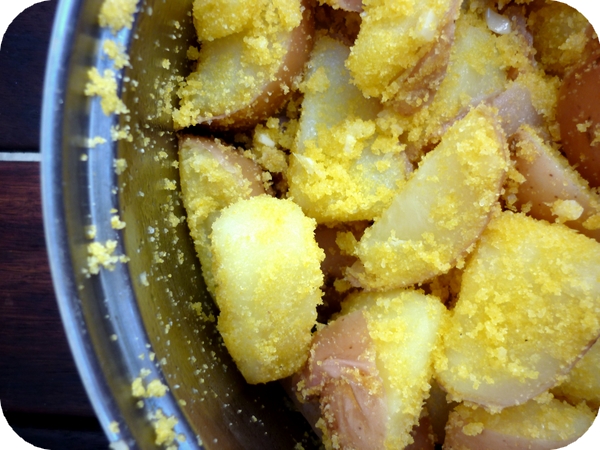
So I was really excited when I stumbled on Malaysian-born Aussie Emily’s blog ‘fuss-free cooking’ and her post on Donna Hay’s Polenta-crusted baked potatoes, which called for instant polenta. Bingo. Two carbs in one dish! I couldn’t wait to make them, but of course I had to tweak the recipe quite a bit, as a pretty much always do. I halved the recipe as I only had half a kilo of potatoes on hand and I used Pontiacs rather than sebagos. I also left the potatoes unpeeled to make them extra crispy (also because I’m a lazy cook). I also used a pizza stone, because my oven is basically a glorified grill. Finally, couldn’t resist adding 3 cloves of garlic in with the polenta. I can’t wait to experiment with maybe a bit of romano cheese and cracked black pepper as well…
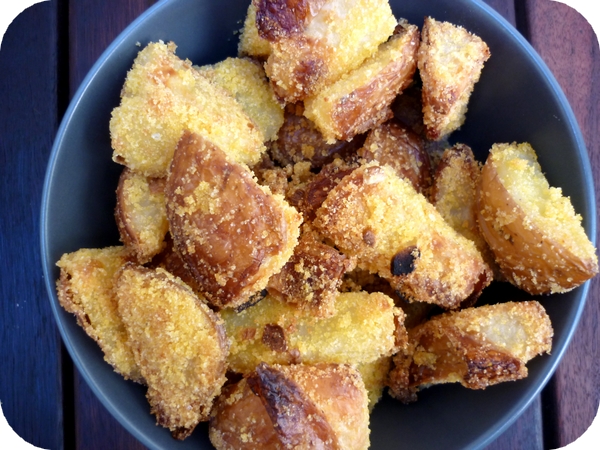
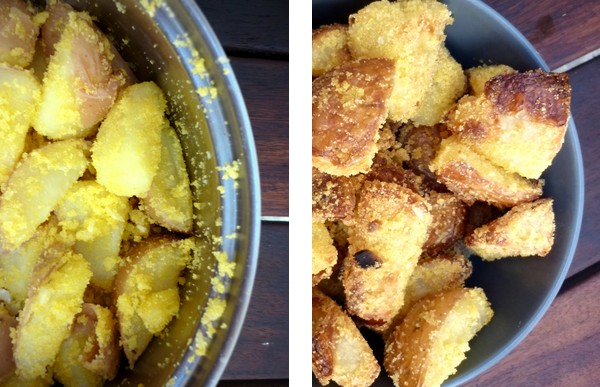
So how are they? Unbelievably crisp on the outside and fluffy in the middle, with a gorgeous salty aftertaste and just a hint of garlic. I love their golden colour and how simple they are to prepare – definitely a case of results far outweighing effort.
Polenta-Crusted Potatoes
Serves 2 as a side dish
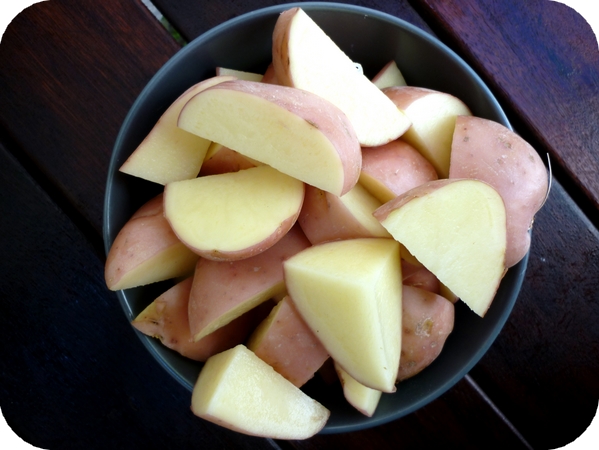
500g potatos, unpeeled and quartered (I used Pontiacs)
1/3 cup (85g) instant polenta
2 Tablespoons of Extra Virgin Olive Oil
½ teaspoon freshly ground salt
3 cloves of garlic, peeled and finely chopped.
Preheat oven to 220 degrees Celsius (425 degrees Fahrenheit).
Place the potato in a large saucepan of salted cold water and bring to the boil. Cook for 8 minutes or until just tender.
Drain and return to the pan with the polenta, oil, salt and garlic. Shake the pan to fluff the potato and coat in the polenta. Give them a stir.
Place the potatos on a baking tray and roast for 30 minutes or until crisp and golden.
So, dear reader, if you were stranded on a desert island and could only have one carb, what would it be? Pasta? Potatos? Rice? Or something else altogether?
About me
 Sharing easy recipes, hunting down the best coffee. Honest accounts, nothing too serious. Read more...
Recent Posts
- Aerpress means no more shit #travelcoffee and #workcoffee
- Why I write and four ace bloggers who do it better
- The five best things I ate in London
- Shoreditch is awesome, airports are not
- I quit sugar? Do I bollocks.
- Cubao Street Food, Alexandria
- The Reformatory Caffeine Lab, Surry Hills
- Brewtown Newtown
- Stay caffeinated over Christmas
- Gumption by Coffee Alchemy, Sydney CBD
Popular posts this month…
 Sparkling Long Black posted on May 10, 2011
  The quest for Mex part 2 – Feisty Chicken Burritos posted on December 21, 2010
  Bake Sale vs. Cake Stall posted on August 30, 2013
  Review – Philips Saeco Intelia posted on January 10, 2012
  How not to order a takeaway coffee posted on March 15, 2011
  Stay caffeinated over Christmas posted on December 20, 2013
  Café review – Flint and Steel (Coffee Alchemy), Marrickville posted on March 1, 2011
  Aerpress means no more shit #travelcoffee and #workcoffee posted on August 2, 2014
Disclaimer:
All opinions in this blog are mine, an everyday, real-life person. I do not accept payment for reviews and nor do I write sponsored posts. I do not endorse the content of the comments herein.

