If you’ve paid attention thus far, you’ll know I eschew any food prep that’s complex or time consuming, unless I know it inside out. I’m also a massive declutterer so I’m not into purchasing appliances unless they’re absolutely necessary (all part and parcel of having a tiny kitchen). In fact, the only thing that made me happier than my aunt giving me her old blender a few years back was a few months back when it broke. ‘Huzzah!’ I thought, ‘Now I can get rid of something!’
The problem with this philosophy is that sometimes you miss out on opportunities. From listening to my friend Gina talk, making ice cream is a complex process. It involves making a custard and having an ice cream maker taking up space in your freezer. Just thinking about doing either of these things makes me sleepy. As a result, I’ve never had a go at homemade ice cream, sorbet or gelato other than a few times with my Grandfather when I was a teen. Or a tween. Some marketing-type-word.
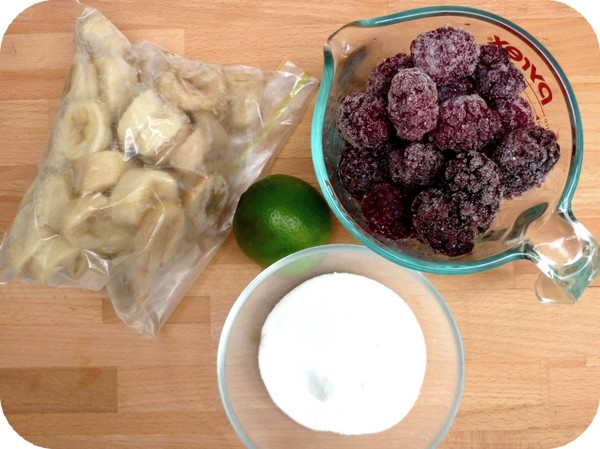
So when I went round to Gina’s to watch her make ice cream I was surprised that it could be so easy. I figured since she was doing all the work, I should supply the ingredients, so we chose a blackberry banana sorbet as I had a kilo of what I thought were blackberries in my freezer at home as well as a banana I’d never gotten round to using. As soon as Ms. G saw them she said ‘They’re not blackberries.’ So we made boysenberry banana sorbet instead.
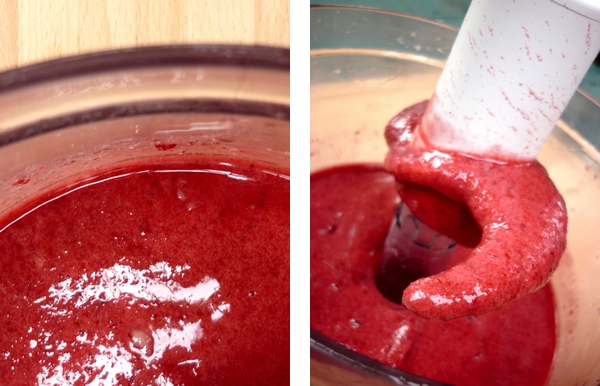
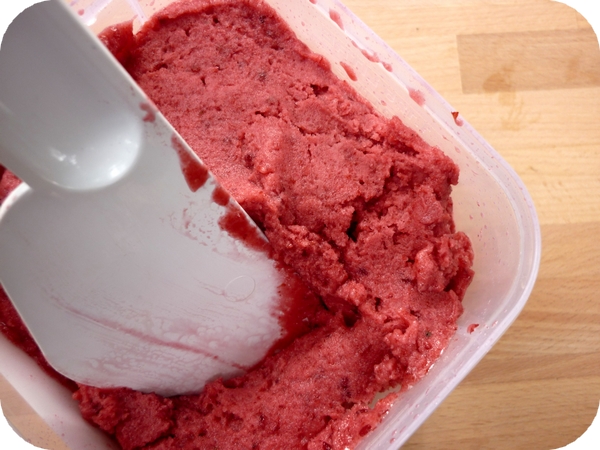
Since the majority of the ingredients were frozen it only took about 20 minutes in the ice cream machine and then maybe an hour of freezing. Gina picked her ice cream maker up on ebay for twenty bucks but she says that with this recipe, you don’t even need one. Having blended everything together in a food processor, you would simply transfer it into another container and leave it in the freezer, stirring with a whisk every half hour until set. You could hypothetically do this with any recipe but it works best if the ingredients are already frozen. In fact, once the mix was blended we wanted to eat it with a spoon then and there!
Banana Boysenberry Sorbet (from ‘The Perfect Scoop’ by David Lebovitz)
1 medium ripe banana (mine was chopped and then frozen, but it doesn’t matter).
2 cups of frozen boysenberries (you could really use any berries).
½ Cup caster sugar
1 Tablespoon fresh lime juice
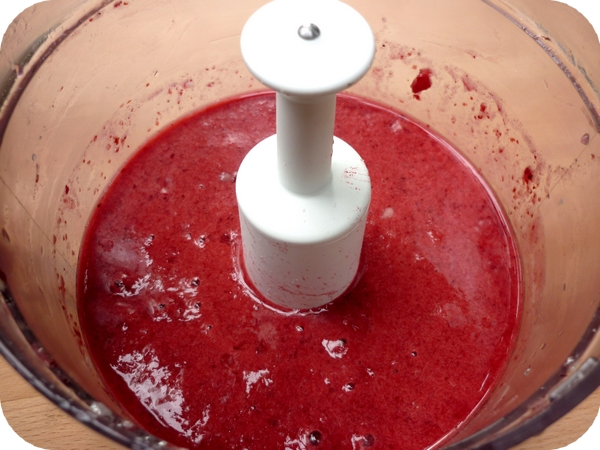
Place all ingredients in the food processor and blend until most of the skins are liquidised. You can’t really strain them out because you won’t be left with much.
Chill in the ice cream maker as per its instructions or if you don’t have one, place immediately in the freezer, whisking every half hour until set. Consume ASAP.
What’s your favourite ice cream flavour?
Disclaimer:
I want to preface this post by saying that there are a million web pages and forums out there that will show you how to make ‘the perfect espresso’. Also, there is much debate about coffee generally, from cafes that won’t serve espresso over ice to those who refer to it as ‘expresso’ to those that serve the completely made up caramel machiatto.
This post bears no relevance to any of that. What I want to do here is show you, the humble domestic coffee machine owner, how to get the best out of your machine. Note that your machine is not my machine and that my methods are not perfect for everyone. This post comes from a tiny, low-tech corridor kitchen and a place of extreme laziness, but also from a girl who cannot live without coffee. Ever.
Skill over gadgetry – A poor tradesman blames his tools
Believe me when I say that it really doesn’t matter what kind of machine you have unless you are drinking ristrettos and short blacks every day (which I am) and grinding your own beans fresh (which I’m not – more on that in a later post). For example, my brother owns a hand-me-down machine that retails now for about $50-$100 and I can get a decent coffee out of it. No worries mate.
Five tips for perfect espresso
To that end, here are my top tips for extracting the best from domestic coffee machines, no matter their quality.
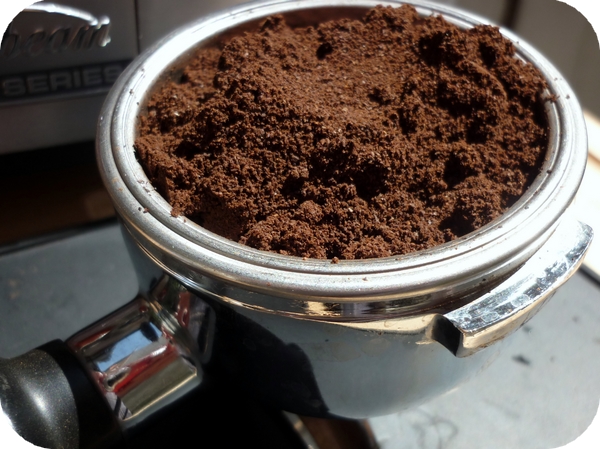
- Whether you grind your beans or buy them ground, make sure they’re ground fine enough. Domestic machines generally require quite a fine grind to ensure a good, even pour.
- To start with, measure and time your shots. 20-30 seconds (ideally 25) for a 30 ml single shot is a good guide.
- Clean your machine regularly, descaling and replacing the water filter as often as needed (your could use filtered water but really? Do you wanna be THAT guy?).
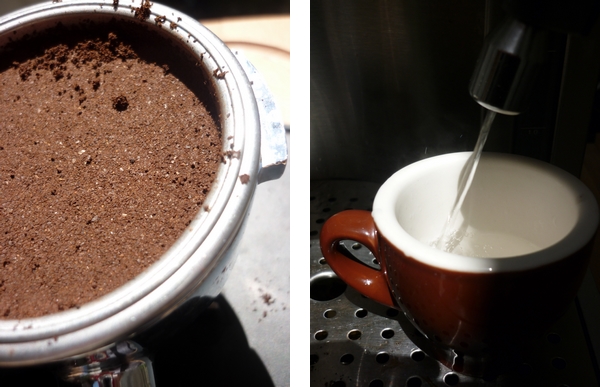
- Use your machine regularly and run some water through it before and after making yourself a coffee.
- Don’t be precious- throw away bitter shots, poorly ground coffee and old beans. This is how your favourite cafe delivers your that perfect cup. Practice and waste are mandatory.
The perfect shot
As I said, you’re aiming for a 25 second, 30ml shot. But more than that, you are aiming for a shot that tastes right to you. Coffee is analogous to wine these days in terms of wankery but I will say this – you don’t want a watery taste nor a very bitter one. This takes a while to work out so even if you’re making cappuccinos or lattes, take a sip of the shot before you add the milk and eventually you’ll get a feel for what you’re after.
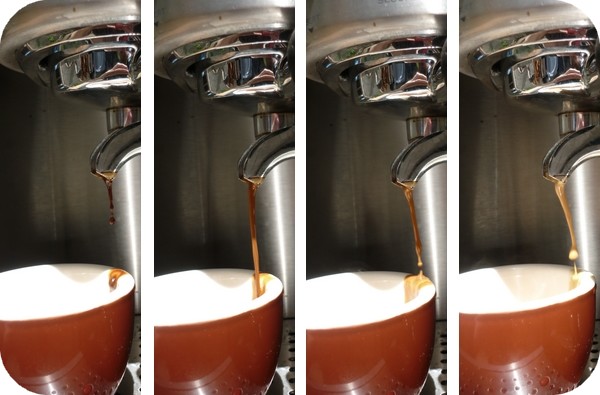
It’s visually quite easy to tell when a shot is done regardless of the pressure of the machine. In addition to the length and time of the shot, there is a distinct change in colour that signals the shot is nearly done – from deep brown to a lighter brown. About halfway through the shot, a creamy layer called the crema starts to form on top of the shot which should remain intact for a couple of minutes. When the crema coming out of the machine starts to turn white you’ve gone a touch too far.
Depending on the size of the basket, you need to use around two scoops/tablespoons of coffee and tamp firmly in an even, downward twisting motion. If the shot is too slow tamp softer/grind coarser and if it’s too fast do the opposite. And remember you can always buy different coffee if you don’t like the results you’re getting. Shop around.
I have a friend, let’s call her Ms. G, who is in the habit of whipping up amazing and intricate dishes on a regular basis. I’m always excited to be invited round for dinner and luckily, she doesn’t live far and invitations are frequent. Ms. G is adept at homemade ice cream, paella, bread made from scratch, risottos…the list goes on. I’m amazed at her patience at skill and it’s serendipitous that she’s an expert in all those dishes I would never dare attempt.
In my own kitchen, my absolute favourite recipes are those that involve minimal effort but yield maximum results. This probably has as much to do with my lack of patience as it does pragmatism, but nothing gives me more pleasure than recipes that are zero fuss and yet somehow, absolutely stunning. It never continues to amaze me how many recipes pack a massive flavour punch with very few ingredients, very little effort and very little time.
Amaretti was one such happy surprise for me. I had always marvelled at their crisp outer shell and chewy centre, perfect with a ristretto or dunked in a cappuccino. Surely, I thought, they must be fiddly and time consuming to taste this good, something like macarons. And yet these little Italian biscuits were as forgettable as they were delicious; in fact it wasn’t until about a year ago that I looked online for a recipe. I ended up selling some to a cafe for a while but due to their understated appearance, that didn’t last long.
This is one of the easiest and fastest biscuit recipes you will ever make in your life- all you do is whisk a few ingredients together with a fork, roll the mix into balls and bake. Enjoy!
Stellar Amaretti
200g almond meal
¾ cup caster sugar
2 egg whites
¼ teaspoon almond essence
Icing sugar, for dusting
Preheat oven to 175◦c. Line two biscuit trays with baking paper.
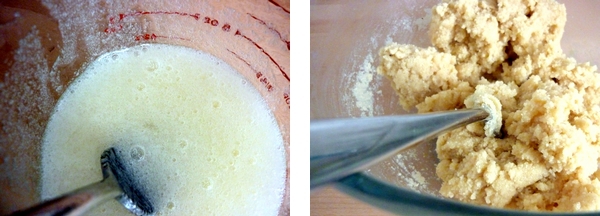
Beat sugar, almond essence and egg whites together with a fork until smooth. Stir in almond meal with fork.
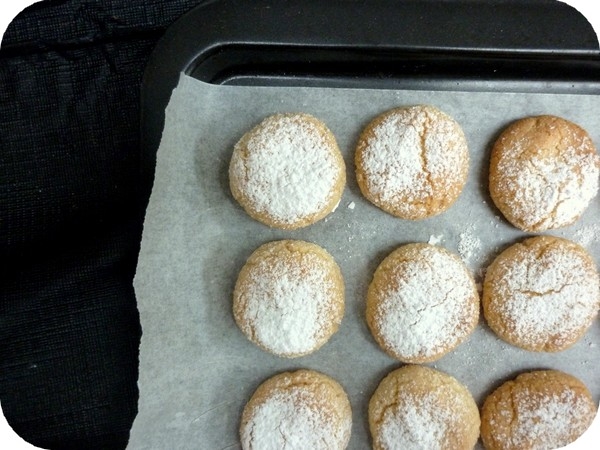
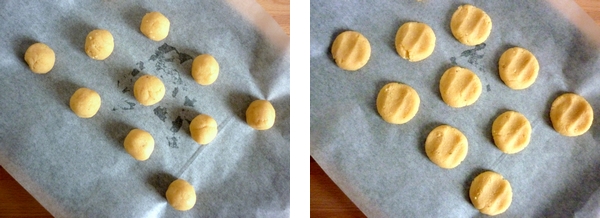
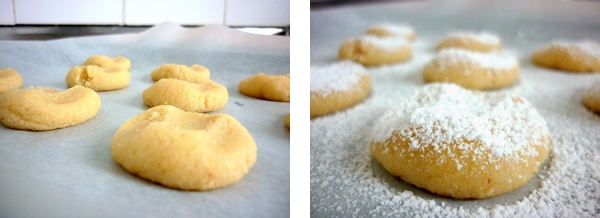
With dampish hands, roll small amounts of the mixture into balls of 2-3 cm in diameter and place on trays. I usually fit about 11 per tray. Flatten them with your fingers and dust liberally with icing sugar.
Bake for around 12 minutes. They should not be brown, just starting to get a touch of colour on them. Cool for one hour before serving and/or storing in an airtight container.
Makes 25 amaretti, which will keep for up to 2 months. Makes a great Christmas gift!
So, readers, do you have a favourite no-fuss treat?
About me
 Sharing easy recipes, hunting down the best coffee. Honest accounts, nothing too serious. Read more...
Recent Posts
- Aerpress means no more shit #travelcoffee and #workcoffee
- Why I write and four ace bloggers who do it better
- The five best things I ate in London
- Shoreditch is awesome, airports are not
- I quit sugar? Do I bollocks.
- Cubao Street Food, Alexandria
- The Reformatory Caffeine Lab, Surry Hills
- Brewtown Newtown
- Stay caffeinated over Christmas
- Gumption by Coffee Alchemy, Sydney CBD
Popular posts this month…
 Review – Philips Saeco Intelia posted on January 10, 2012
  Sparkling Long Black posted on May 10, 2011
  Kosher Whole Orange Cake posted on July 5, 2011
  The quest for Mex part 2 – Feisty Chicken Burritos posted on December 21, 2010
  Vella Nero Coffee Couture, Sydney CBD posted on June 28, 2011
  Fairy Bread posted on March 11, 2011
  Gumption by Coffee Alchemy, Sydney CBD posted on December 13, 2013
  The quest for Mex part 1 – Mexican Red Rice posted on December 17, 2010
Disclaimer:
All opinions in this blog are mine, an everyday, real-life person. I do not accept payment for reviews and nor do I write sponsored posts. I do not endorse the content of the comments herein.


